n
Why decant wine?
Wine is decanted for the following reasons:
a. For sediment: as red wine ages, pigments and tannin precipitate out of the wine in the form of sediment. It’s imperative to decant the wine off the sediment lest a fine aged vintage immediately become “Cuvée Rio Grande.”
b. For aeration: if aerating a wine is desired, simply opening the bottle and leaving it on the table to “air” is useless–unless the wine is going to be enjoyed next week. At the very least, the wine should be opened and poured some 15-30 minutes before enjoying; decanting the bottle is the best case scenario. To that point, most current release reds and some whites do best with a quick splash decant.
c. To change the temperature: sometimes a bottle coming directly from the cellar is too cold to serve. A quick decant will instantly raise the temperature by five to seven degrees F.
d. For sulfur or other off aromas: certain whites such as German Rieslings and white Burgundies can show ample amounts of sulfur on the nose just after opening. A vigorous splash decant or double decanting can help dissipate the SO2 or any other off aromas.
e. For show: last and certainly not least, decanting wine in the dining room is always a great vehicle for sales. It gets diners interested in the service of wine and it may also suggest ordering a bottle to guests who might otherwise settle for just a glass of wine, a cocktail, or god forbid, coffee.
Mise en Place: Equipment Needed for Decanting:
a. Basket or cradle: the main purpose of a decanting basket or cradle is to move the bottle from the cellar to the table without disturbing the sediment. As for the actual implement, metal alloy decanting baskets were once impossible to locate but thankfully now fairly easy to find and reasonable in price. Make sure the basket you choose can easily accommodate a 750 ml bottle and more because you’ll also be lining the basket with a cloth napkin.
Wooden baskets work well but are far less durable over the long term. Decanting cradles certainly work just as well. Some are designed to actually hold the bottle during the actual decanting process. Most are not. Make sure you know that before getting down to work. Otherwise, the results can be truly comical—and tragic. Line the decanting basket with a folded cloth napkin. Although there are many ways to do so, a simple folded serviette works as well as anything.
b. Gueridon: one of the major components needed in decanting. A room service cart also works well. A small side table can be used to decant if a gueridon or cart is not available. Regardless, the gueridon or cart should be draped with a white or light colored table cloth. Make sure the cloth is folded and positioned so as not to get tangled in the wheels when moving the gueridon into position.
c. Service tray: everything used for service—as in glassware and underliners–comes to the table on a service tray lined with a napkin. The napkin bit is important. There’s nothing quite as exciting as watching several glasses skid around the top of a metal service tray as the server whisks around the table. The bottom line: service is never the time to tempt gravity or the other laws of physics. Remember, nature always bats last—and you will lose.
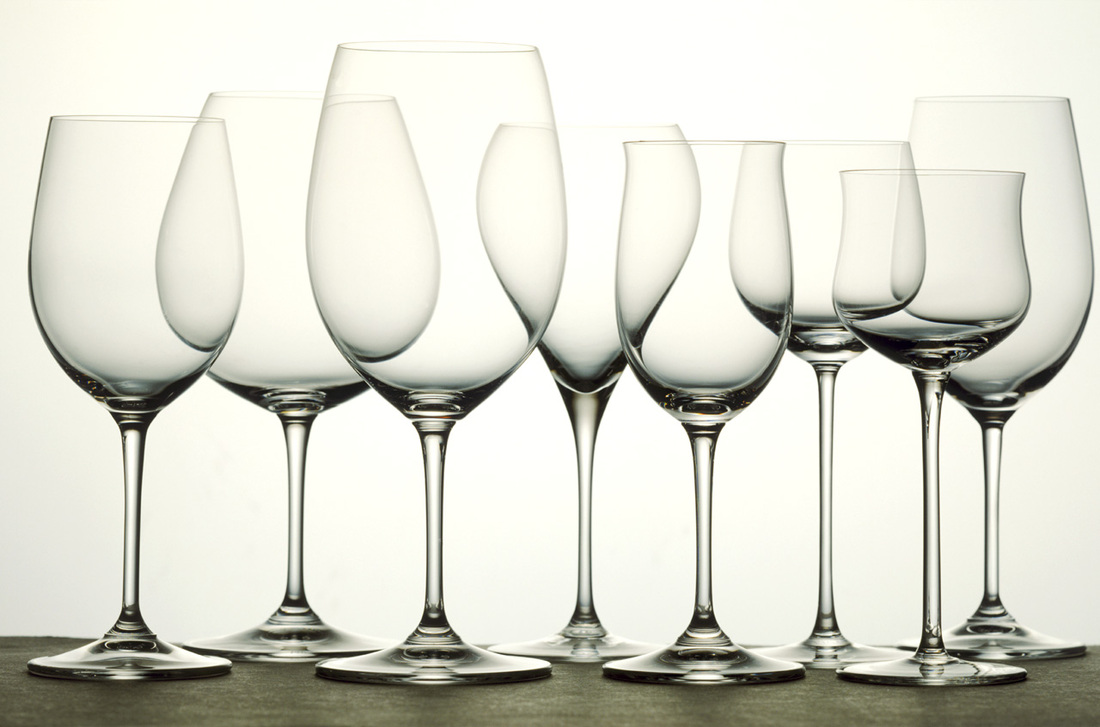
d. Glassware: glasses should be cleaned and polished. Polish glassware over a source of steaming water with a clean cotton or cotton blend napkin. Avoid poly napkins as they tend to repel water.
e. Underliners: three underliners, or B&B plates, are needed for decanting and serving the bottle: one to present the cork, one for the bottle when placed on the table, and one for the decanter. Note that you may need to use a small plate instead of an underliner for a decanter with a wide base.
f. Candle and candle holder: a simple tapered candle works as well as anything. You’ll also need an odorless lighter or odorless matches to light the candle. Zippo lighters or wooden matches are verboten because of the odor factor. Note that a small LED flashlight also works well.
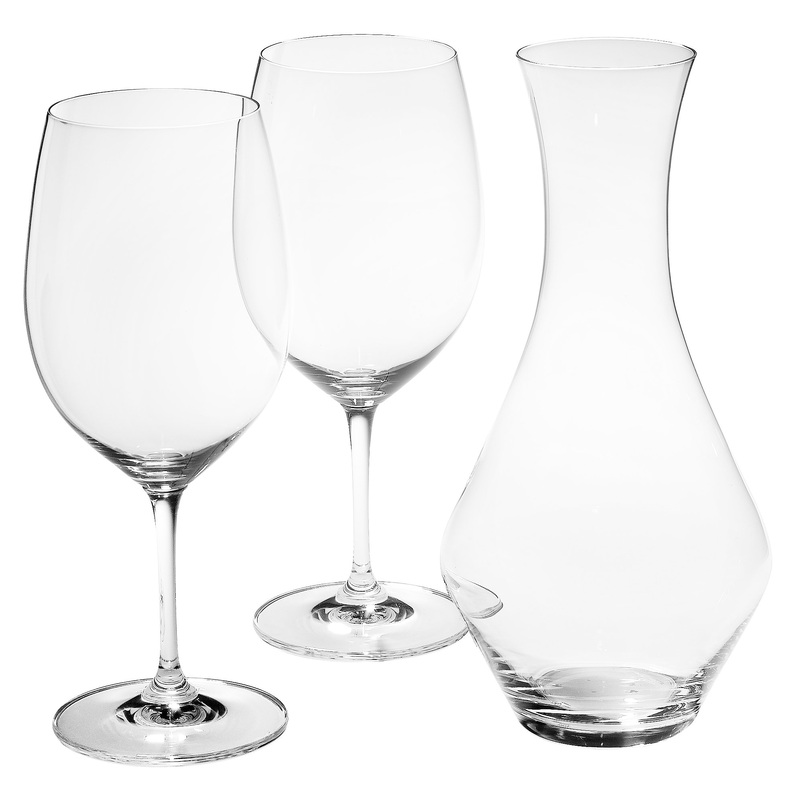
g. Decanter: decanters run the gamut from simple carafe or bottle-like designs to the uber-exotic glass sculptures that look like props from a Matt Helm spy movie from the ‘60’s. I have no idea how these serpentine spectacles are kept clean if regularly used much less the antics involved when actually serving wine from them. I’m also personally not a fan of decanters with an ultra-wide base. I call them “death stars” because of their uncanny tendency to hose the table down like a lawn sprinkler when pouring out the last bit of wine.
Advice: chose a decanter with a very basic design that is easy to clean and easy to pour. The Riedel Merlot or Syrah decanters are both good designs and are more than affordable. Also have a good magnum decanter on hand. You’ll rarely use it but at times it will suddenly and magically become your best friend.
h. Folded serviettes: you’ll need three serviettes. Be sure to fold the seams inward so they can’t be seen.
Taking the Order
As with any form of wine service, repeat the order after the host at the table has given it to you. You’ll also repeat the vintage and name of the wine again when presenting the bottle. Repeating the order prevents any embarrassing fall out at the end of the meal as in when you discover that the host actually ordered the 2001 Pichon-Lalande instead of the 2000 vintage. Big price difference there and the restaurant—and ultimately you—will end up paying the difference.
Placing the Glassware and Underliners
Bring the glassware and underliners (or B&B plates) to the table on the lined service tray. Two underliners are placed to the right of the host for the cork and decanter. The third underliner for the bottle is placed in the center of the table.
Place the glassware at each cover as consistently as possible. There are multiple ways of placing wine glasses and all are equally acceptable as long the glassware is placed the same way at each cover. Remember to handle the glassware by the stems only. Anything else is atrocious.
Retrieving the Bottle
From this point on the directive is simple:;go gently into that good night as in do NOT disturb the sediment in the bottle at all costs. That is the entire purpose of decanting an older bottle and hence the entire reason for the show.
When retrieving the bottle from the cellar be sure the label is facing up. If the bottle has been incorrectly stored in the rack or bin, then not only is the party responsible destined for punishment but you will also have to present the bottle as is. The last thing you want to do is to rotate the bottle label up stirring up all the sediment thus rendering the wine undrinkable and the bottle unsellable for at least 24 hours. If it’s the only bottle of the desired wine in inventory and the label is not facing up, you will have to apologize to the host for the wine being cellared improperly and present the bottle a second time once the wine is decanted.
Remove the bottle from the cellar gently and place in the basket or cradle that has been lined with a cloth napkin. Note that the easiest way to do so is to hold the bottle stationary and place the basket/cradle around it gently.
At this point, the bottle in the decanting basket can be either presented to the host or carefully moved to the gueridon to be presented once the gueridon is in position.
Moving the gueridon into place: light the candle away from the table and move the gueridon or cart carefully into place at the table. Position the gueridon to the host’s right side if possible or at the table within the host’s line of site. Care must be taken to position the gueridon safely so it won’t be in the way of other floor stafff who will undoubtedly bear down on you just as you begin to decant the wine.
Presenting the bottle: confirm the vintage and producer for a second time with the host to ensure you have the correct wine.
Readying equipment: once presented, place the bottle and basket carefully back on the gueridon in the correct position to cut the capsule.
* Make note of the angle of the bottle as it sits in the basket. If the angle is too shallow you could lose wine as soon as the seal of the cork is broken. If that’s the case, use a B&B plate underneath the end of the basket to increase the angle. Then position the decanter and light the candle.
Cutting the capsule: with one hand gently but firmly grasping the bottle in the basket, carefully cut the capsule under the second lip of the top of the bottle. Place the capsule in your pocket. Wipe the top of the bottle thoroughly for the first time; you’ll be wiping again after the cork is removed.
*If the bottle in question is older than 15 years, I often recommend removing the entire capsule from the bottle to make the entire cork as clearly visible as possible. With an older wine you may need to see if the last ¼ inch of cork has cemented itself to the inside of the neck of the bottle over the years. If so, that last part will begin to disintegrate just as you as soon as you start to remove the cork. It’s also important to note that if you do intend to cut the entire capsule off, be sure to tell the host what you’re doing and why. After all, it’s their bottle and they’re paying for it.
Removing the cork: still holding the bottle firmly and gently, insert the auger of the corkscrew two-thirds of the way into the cork. Ease the first quarter inch of the cork out and then insert the auger most—but not all—of the rest of the way in. Keep in mind that piercing the bottom of the cork with the auger of the corkscrew will break off shreds of cork into the wine.
As the cork is coming out slowly and gently, start to angle it to the side or up which will direct any wine you might lose once the seal is broken downwards and on to the gueridon. It’s also a good idea to place a folded napkin on the gueridon just underneath the top of the bottle for that very reason.
Once the cork is removed, place it on an underliner on the gueridon. Wipe the top and lip of the bottle thoroughly for a second time. Take a quick look at the inside of the neck of the bottle to make sure no tartrate crystals are present. If so, you’ll need to take a corner of a serviette and carefully remove them.
Positioning the Bottle to Decant
Now for the trickiest move of the entire decanting sequence: unless you’re ambidextrous the bottle is now facing the opposite direction from where it needs to be for decanting. You have two options. Both take practice, practice, practice:
a. Remove the bottle from the basket by holding the bottle stationary and removing the basket from around the bottle. Then gently and evenly rotate the bottle in your hands to face the other direction.
b. Gently and evenly rotate the basket on the gueridon so the bottle faces the opposite direction. Then remove the bottle from the basket by holding the bottle stationary and removing the basket from around it.
Decanting the Wine
Holding the bottle at a safe distance over the lit candle (as in at least 8-10 inches), begin to pour the wine slowly and evenly into the decanter. You may need to adjust the height of the bottle when decanting depending on the visibility of the wine in the bottle or the brightness of the candle.
Important: once you start decanting the bottle you CANNOT stop until you’ve poured as much wine as possible off the sediment. That means if a random busser body slams you or someone asks you a question—as in a ludicrously difficult question posed by an ever-curious examiner at the table—you do not look up or stop decanting under any circumstances. It’s that simple. Even the slightest interruption can mix the sediment up in the wine and totally wreck the job.
Other Vital Details:
· The bottle is NOT to touch the top of the decanter when decanting.
· As the wine is being decanted, you are looking for sediment at the shoulder and NOT the neck of the bottle.
· If you’re watching for sediment in the neck of the bottle, it will be too late and you will have sludge in the decanter. This is truly bad form as in why did you even bother to decant the wine in the first place.
· Stop decanting when you see the first signs of sediment.
Presenting the cork: after decanting is finished, present the cork to the host on the first underliner or B&B plate.
Pouring a taste for the host: take the decanter and pour a 1-to-1.5 ounce taste for the host. Stand back and allow them an opportunity to smell and taste the wine. Once they’ve approved the bottle proceed to serve the table.
Pouring for the Table
Serve lady guests first, gentlemen next and the host last, regardless of gender. If there is a guest of honor at the table, pour for them first after pouring a taste for the host. Remember to serve the host before taking off for your next table. Nothing is more awkward than forgetting to serve the host—as in the one who is probably picking up the check.
Pour glasses no more than 1/3 full, depending on the size and shape of the specific glass. Remember that your guests will be swirling the glass as they enjoy the wine and if you over pour, they may not be able to accomplish said activity without hosing everyone down around them. A good rule of thumb is to pour to the widest part of the glass. If in doubt, under pour. Make sure your pours are consistent from cover to cover.
The Grip on the Decanter:
Hold the decanter as if it were a bottle of still wine for maximum control. Holding the bottom of a decanter with a wide base, a.k.a “death star,” looks very groovy but provides little, if any, control.
No drips: that’s why you have a serviette and it should be right there after you finish pouring each time to catch any potential drips.
Ask to remove the cork: ask the host if they would like to keep the cork or if you can remove it. If the cork is to be removed, save it to the side in case the host later changes their mind and wants to keep it.
Bottle placement: ask the host if the bottle is to be placed on the table. If so, place the bottle on the third underliner in the center of the table with the label facing the host. If not, the bottle is placed on the gueridon and taken away along with the third underliner.
Decanter placement: after pouring, the decanter is left on the remaining underliner to the host’s right within reach. That’s because it’s the host’s prerogative to pour for their guests if the sommelier or servers are not available at the moment to do so.
Finally, service is concluded by rolling the gueridon away from the table.
*Important: the candle is to be put out AWAY from the table so as not to create any smoke and disrupt enjoyment of the wine.
Opinion: Preparing-Seasoning Decanters and Glassware
The process of pouring a bit of wine into glassware and the decanter and coating the inside surface to ready for use is called avinare. The practice is widely used in sommelier competitions and many other sommelier organizations. While I certainly respect the intent of the practice, I think it’s unnecessary and can even defeat the purpose of decanting. Mise en place presupposes that glassware and decanters are clean, polished, and ready for use. If that’s the case, why would prepping-seasoning even be necessary? Also, decanting the first bit of wine and then stopping the decanting process to season the decanter can only mix sediment into the wine, thereby totally defeating the entire purpose of decanting. On that note, I do remember a wonderful dinner in Tuscany not long ago where the sommelier spent almost her entire evening seasoning dozens of stems for our table. It was a great show–but was it a waste of time? You be the judge.
Finito
nn